Adding Style With Encore
In this part we are going to add a little style to our app. We will use Symfony Encore to build our front end CSS and JS and then update our Dokku configuration to build our front end during deployment.
Create an Encore Branch
Just like last time, we will create a new branch to build our changes in:
git checkout -b encore
Installing Encore
Prerequisites
Like the documentation says, you will need at least NodeJS installed on your system. Though the documentation also recommends yarn, I am more of an NPM person and will be using that.
Installing Encore is done with following commands:
composer req encore
npm install
SASS setup
We will be using SASS for CSS pre-processing. To get SASS to work, we need to follow the instructions in the Encore documentation.
First we uncomment .enableSassLoader() in the webpack.config.js file and then we need to install the SASS requirements. Run Encore and it will output a bunch of errors. Scroll to the top of the errors and you will see something like:
Error: Install sass-loader & node-sass to use enableSassLoader()
    npm install sass-loader@^7.0.1 node-sass --save-dev
Run that npm command to install the SASS dependencies.
After everything is installed, we need to convert our CSS to SASS. First, rename assets/css/app.css to assets/css/app.scss. Next, edit assets/js/app.js to and change require('../css/app.css'); to require('../css/app.scss');.
Now we can run npx encore dev to build three files, runtime.js, app.css, and app.js.
npx vs. npm
npm manages packages but doesn’t make life easy executing any. npx is a tool for executing packages. When executables are installed via npm packages, npm links to them and then you can run them with npx.
You could also run Encore with node_modules/.bin/encore dev, but I find npx encore dev nicer.
To use the generated files, we need to include them in our app’s tempates/base.html.twig layout (following the directions in the documentation):
<!DOCTYPE html>
<html>
    <head>
        <meta charset="UTF-8">
        <title>{% block title %}Welcome!{% endblock %}</title>
        {% block stylesheets %}
            {{ encore_entry_link_tags('app') }}
        {% endblock %}
    </head>
    <body>
        {% block body %}{% endblock %}
        {% block javascripts %}
            {{ encore_entry_script_tags('app') }}
        {% endblock %}
    </body>
</html>
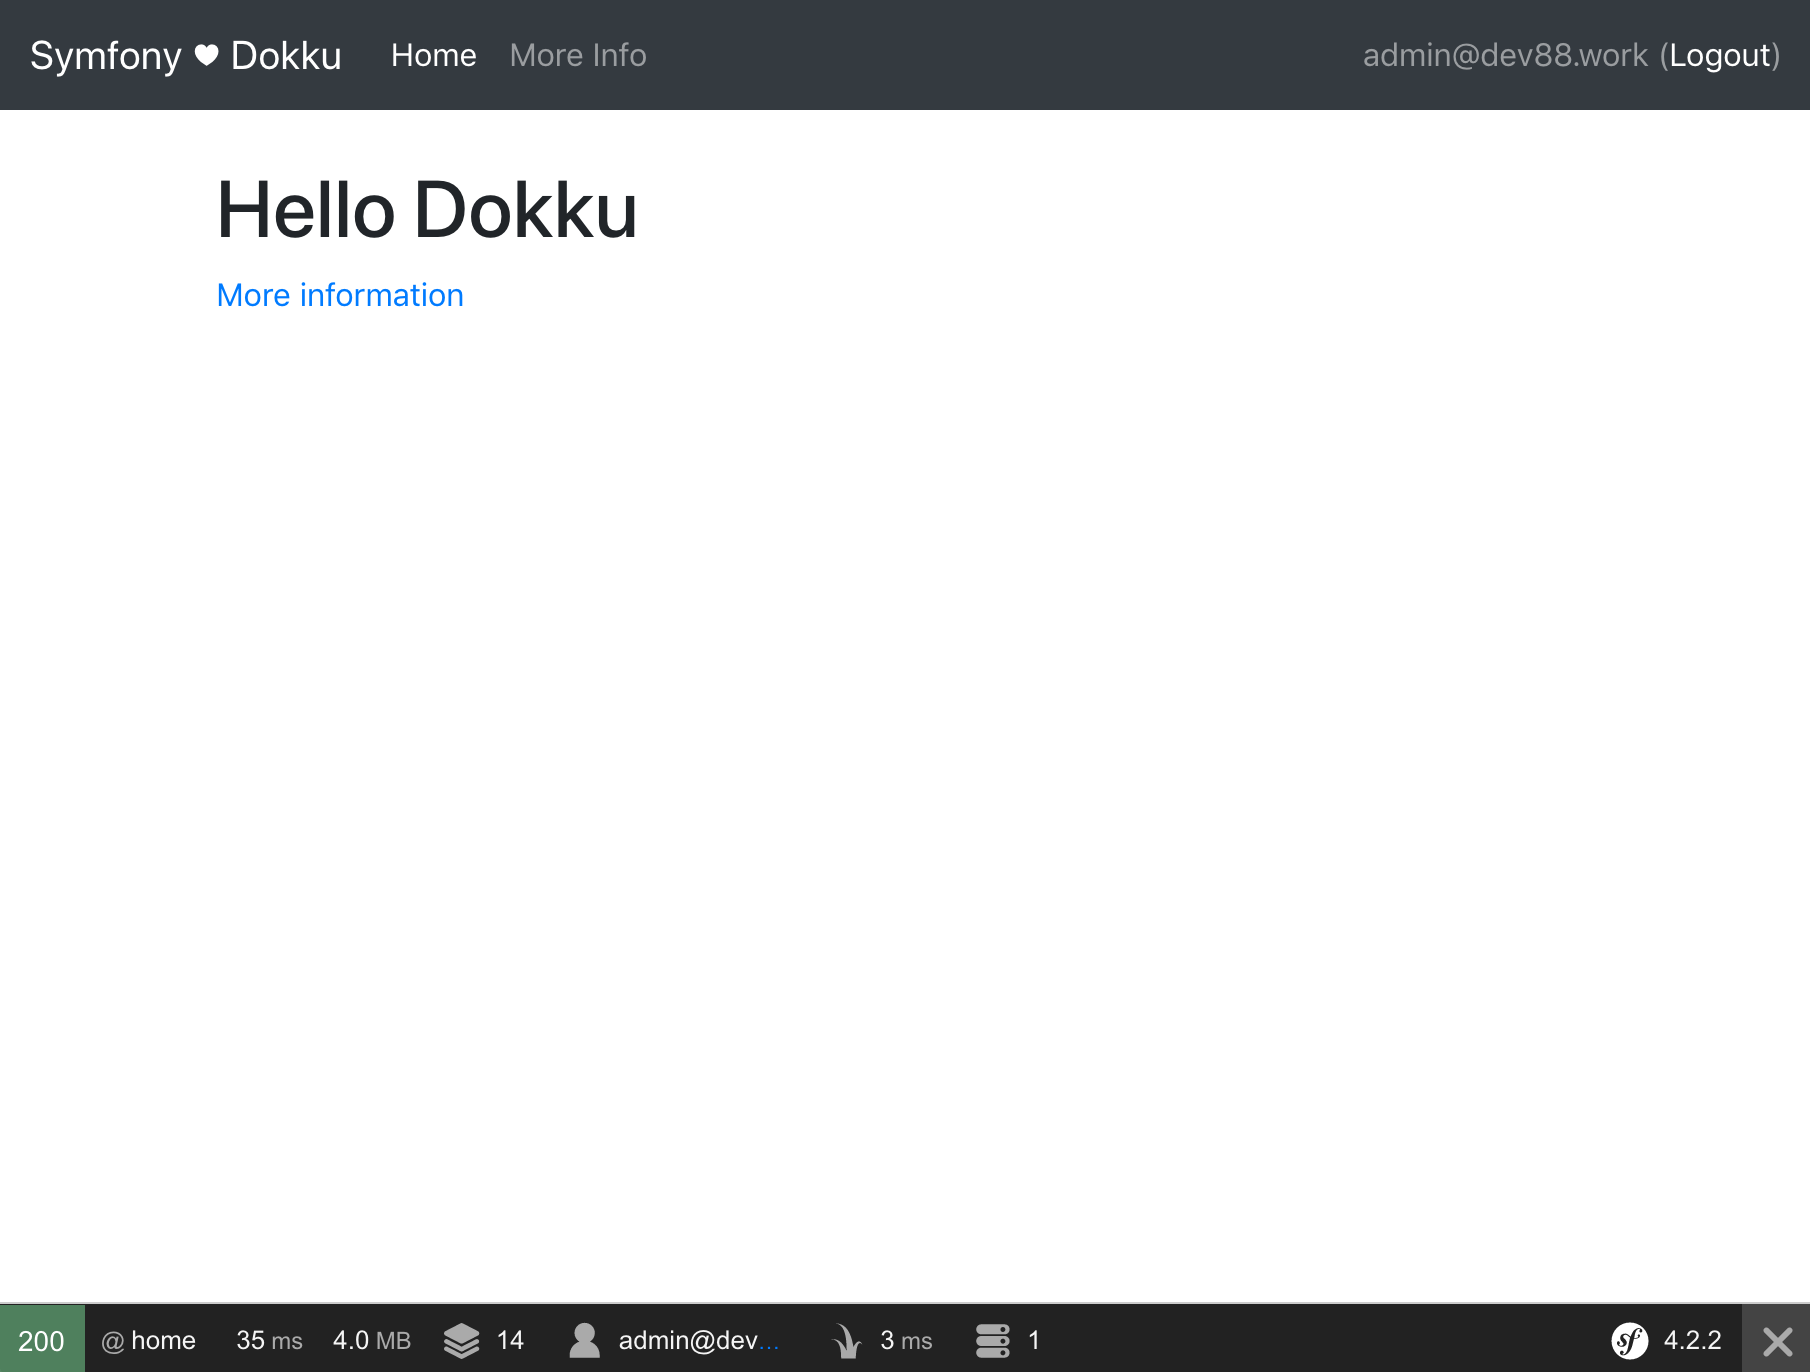
Once we have added encore_entry_link_tags and encore_entry_script_tags to our layout, we can fire up our app with sf server:run and we should now see our site has a grey background.
Adding Bootstrap
The quickest way to add some basic style to our site is with Bootstrap. Luckily, the documentation has us covered and we will just follow those instructions to get Bootstrap set up.
Installing with NPM
The documentation uses yarn. The command to install Bootstrap (and jQuery and Popper.js) with NPM is:
npm install bootstrap jquery popper.js --save-dev
For styling our pages, we will use the most generic bootstrap layout. For this we need to update our CSS, JS, and layout.
Update our styles in assets/css/app.scss:
@import "~bootstrap/scss/bootstrap";

body {
    padding-top: 5rem;
}
Update our Javascript in assets/js/app.js:
require('../css/app.scss');

const $ = require('jquery');
require('bootstrap');
And finally update our layout in templates/layout.html.twig:
<!doctype html>
<html lang="en">
<head>
    <meta charset="utf-8">
    <meta name="viewport" content="width=device-width, initial-scale=1, shrink-to-fit=no">
    <title>{% block title %}Symfony ♥ Dokku{% endblock %}</title>
    {% block stylesheets %}
        {{ encore_entry_link_tags('app') }}
    {% endblock %}
</head>
<body>
<nav class="navbar navbar-expand-md navbar-dark bg-dark fixed-top">
    <a class="navbar-brand" href="#">Symfony ♥ Dokku</a>
    <button class="navbar-toggler" type="button" data-toggle="collapse" data-target="#navbarsExampleDefault" aria-controls="navbarsExampleDefault" aria-expanded="false" aria-label="Toggle navigation">
        <span class="navbar-toggler-icon"></span>
    </button>

    <div class="collapse navbar-collapse" id="navbarsExampleDefault">
        <ul class="navbar-nav mr-auto">
            <li class="nav-item active">
                <a class="nav-link" href="{{ path('home') }}">Home</a>
            </li>
            <li class="nav-item">
                <a class="nav-link" href="{{ path('more_info') }}">More Info</a>
            </li>
        </ul>
    </div>
</nav>

<main role="main" class="container">
    {% block body %}{% endblock %}
</main><!-- /.container -->
{% block javascripts %}
    {{ encore_entry_script_tags('app') }}
{% endblock %}
</body>
</html>
Run npx encore dev, restart our server, and reload our browser and we should see a plain, yet utterly functional webpage.
If everything is working right, we should commit everything to our repository:
git add .
git commit -m "Add Encore and basic styles"
Building the Front End in Production
Our application currently is built using the PHP buildpack when we push to Dokku. The PHP buildpack does not include NodeJS, so we need to tell Dokku to also include the NodeJS buildpack. To do this, we add a .buildpacks file to the root of our app:
https://github.com/heroku/heroku-buildpack-nodejs
https://github.com/heroku/heroku-buildpack-php
The NodeJS buildpack will install all of our Encore dependencies - but does not install dev dependencies. We need to update our package.json file and change devDependencies to dependencies.
Finally, to run the encore command, we need to add a script to our composer.json:
{
    //...
    "scripts": {
        // ...
        "post-update-cmd": [
            "@auto-scripts"
        ],
        "compile": [
            "node_modules/.bin/encore production"
        ]
    },
    //...
}
Just those three changes and we can commit all of our changes to our repository:
git add .
git commit -m "Add NodeJS and run Encore on Dokku"
That finishes up everything we need for this feature so we can merge this branch back into master and we are ready to push our changes up to Dokku:
git checkout master
git merge encore
git branch -D encore
git push origin dokku
The deployment to Dokku will take a little while. Once the deployment finishes, visit your site and it should have the all-new design.
SUCCESS!
Everything is looking better and we have Encore building our front-end assets.
What Next?
In the next post in this series we set up a database and add Users with the ability to log in and out.